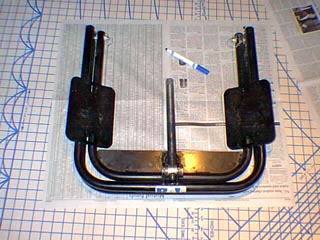
First step, I decided to make a newspaper pattern. I traced around my BAL with a marker, and discovered in the process that one open sheet of newspaper is the perfect size. So, the sheet of newspaper became my pattern for the bag.
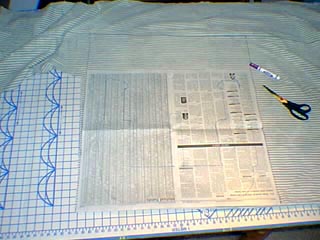
Here I have laid out the pattern on my fabric. I added ~6" at the top for the flap of the bag and marked it with a marker. The bottom edge of the fabric is a folded edge, so the pattern is actually laying on TWO layers of fabric.I cut out around the newspaper and up the line I had marked for the flap. On the underneath layer of fabric, I trimmed off the "flap" part.

The "flap" that was cut off from the bottom layer of fabric became the pockets for the front of the bag. Here I am measuing the pocket to make sure the ratchet fits - which it does, with plenty to spare!
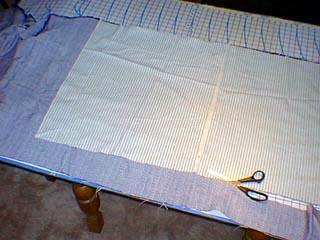
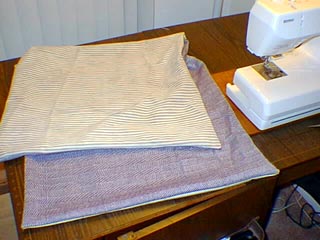
Once I got the main fabric cut out, I used it as a pattern to cut lining fabric. The "line" just in front of the scissors on the main fabric is the fold line - once the bag is sewn to the lining, it will be folde on that line (off-center) to make the bag & flap. [If you're confused, look at the later pictures.]
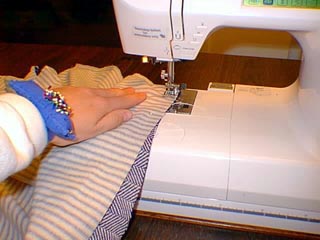
Here I am sewing the lining fabric to the main fabric, right sides together (back side(s) of fabric facing up/out). I used a 1/2" seam allowance on this project. Leave a gap (~4-5") in the seam somewhere along one of the sides, so that you can turn the bag right-side-out again.
The lining and fabirc have been sewn together and turned back right-side-out. Now, it's time to add the pockets to the front of the bag.
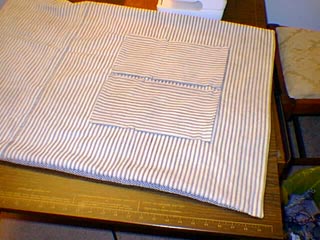
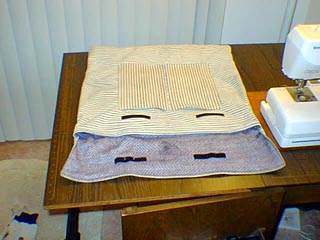
Here the pockets have been pinned to the front of the bag, ready to be sewn in place. The top of the bag is to the right in this picture, and the fold line is to the left. The top edges of the pockets have been hemmed (turned under 1/4" and sewn down) to hide the raw edges, while the sides are just turned under and pinned. The raw edges of the sides will be caught in the seam that is sewing the pocket to the bag.
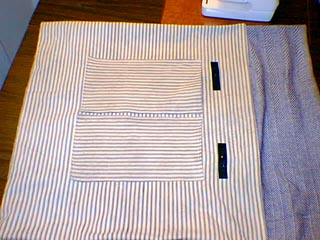
Pockets have been sewn down in this picture - sew around the sides and bottom of each pocket piece. Two pieces of velcro have been pinned in place, ready to be sewn down. You can see the flap to the right of the picture. (The bag is shown folded here, but you need to have it flat/unfolded while you're sewing on the velcro.) Sew around all four sides of the rectangle of velcro to secure it to the front of the bag.
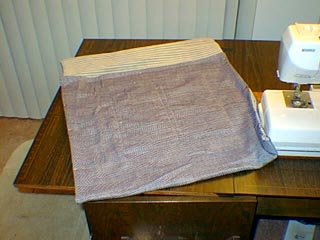
Once everything is sewn to the front of the bag, it's time to sew the sides of the bag itself. You can sorta see in this picture where the pockets and velcro have been sewn on the the front of the bag. The bag has been folded on the fold line, wrong-side-out, and pinned in place. Now it's time to sew each side seam.
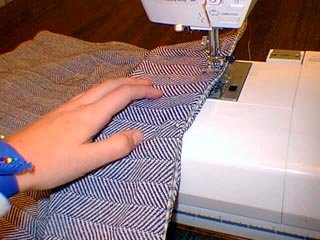
Here is the side seam being sewn. It's kinda hard to see, but there are four layers going under the needle - two layers (main fabric & lining) that are the back and two that are the front. I used a small seam allowance here, only about 3/8". I continued my seam around the top flap of the bag, just for decoration.
Side seams are done, and the bag has been turned right-side-out again. I tested the flap alignment, and marked where the other half of the velcro pieces should go. In this picture he velcro has been pinned in place, ready to sew.
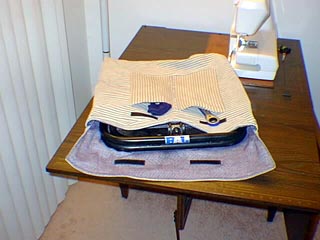
Voila! The velcro is in place, and everything fits in my new BAL leveler bag. The pockets are holding the ratchet in one and a set of $0.99 gloves that I use to protect my hands from the dirt & grease on the BAL in the other.
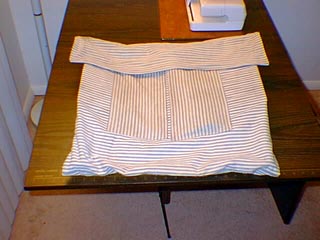
Here's the bag all closed up. Now I'm ready to go camping! (Next time, I might add a handle/strap, but the BAL is so awkward that I'm not sure a handle/strap would do much good. I'm only carrying the thing from inside the camper to the wheel, anyhow.)