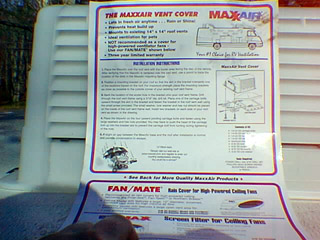
After dealing with some leaks around my vent, I decided to add a roof vent cover. The cover should help keep the rain away from the vent some, as well as allowing me to have better ventilation inside the pop-up even when it's raining. Camping World had a sale on MaxxAir vent covers, so I ordered one. The directions were pretty easy: align, drill, screw, bolt.
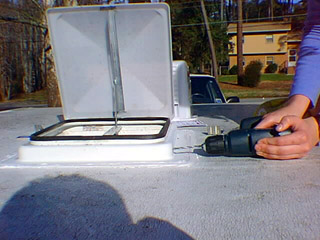
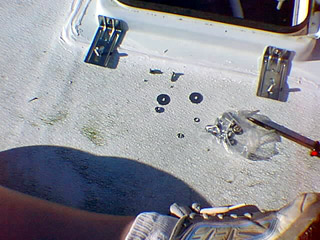
This was a little scary. After marking the location of the bracket holes, I drilled into the side of my existing roof vent. The MaxxAir cover is just sitting behind the vent, waiting.
Another view of the drilling. My dear boyfriend is the photographer, and managed to include both his sleeve and his shadow in this picture. He also helped with the popping up-and-down, since we had to raise the roof to open the vent, then lower the roof to let me climb up to do the drilling, then raise the roof to close the vent at the end.
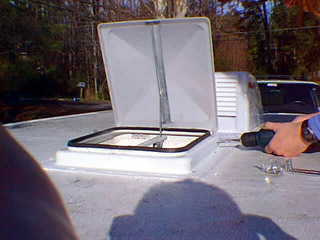
Once the holes were drilled, the brackets for the vent cover bolt into place. A small bolt goes through the side of the vent frame to anchor each bracket. Getting the washer, lock washer, and nut in place on the inside of the vent frame was a bit challenging. Everything went together smoothly, once it was aligned.
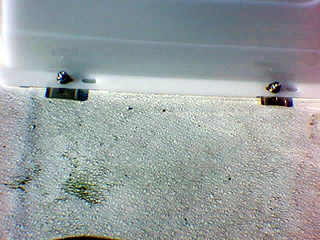
A close-up view of the brackets. There is a carriage bolt that comes up vertically through the bracket to attach to the MaxxAir cover itself. The cover never touches the roof of the pop-up. You can also see the extra caulking around the roof vent that I added as extra leak protection. (No, I'm not the world's greatest caulker, but it will keep the water out even if it looks bad.)
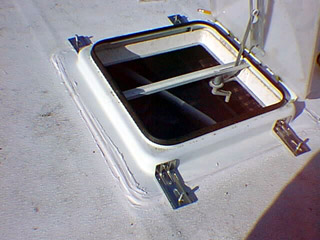
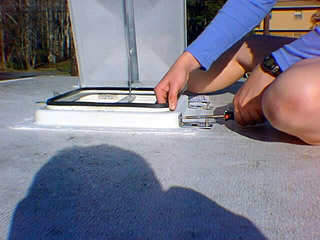
All four brackets are installed. It's time to drop the MaxxAir cover on and screw down the nuts. First, time to raise the roof to close the vent partially so the cover will fit on top.
This is what the brackets and cover look like when bolted down. Once again, there is a washer, lock washer, and nut holding everything in place on the carriage bolt. I don't think any wind is going to take this roof vent cover off.
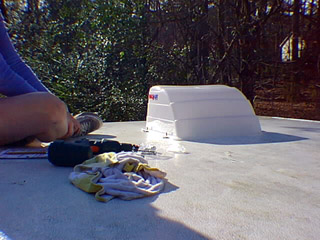
Ta-da! One completed installation of a MaxxAir vent cover. Yes, I was sitting on the roof of my pop-up do do all the work. I can't reach the middle of the roof from the ground, and I'm light enough that the roof can support my weight. I did make sure to stay over the section of the roof with the air-conditioner support beams, though.
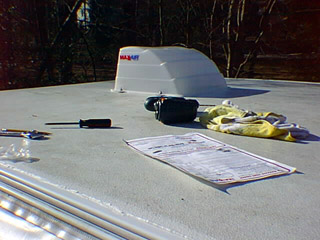
Another view of the completed installation. Tools needed: drill with a 3/16" drill bit, Philips head screwdriver, and an adjustable wrench. Total time: maybe 30 minutes? (I wasn't timing.)
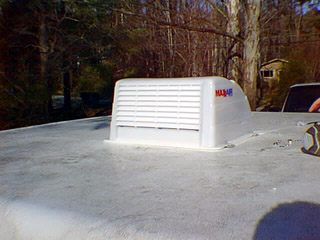
Back view of the vent cover. The louvers keep rain from blowing in, and there is a screen behind the louvers to keep insects out of the vent area. Hopefully, this will keep the pop-up cooler and better ventilated in the future!